![]()
![]()
![]()
![]()
…a house is not a home until you love where you live…
How to prep for photography after your renovation finishes

Why you should do a final renovation photoshoot
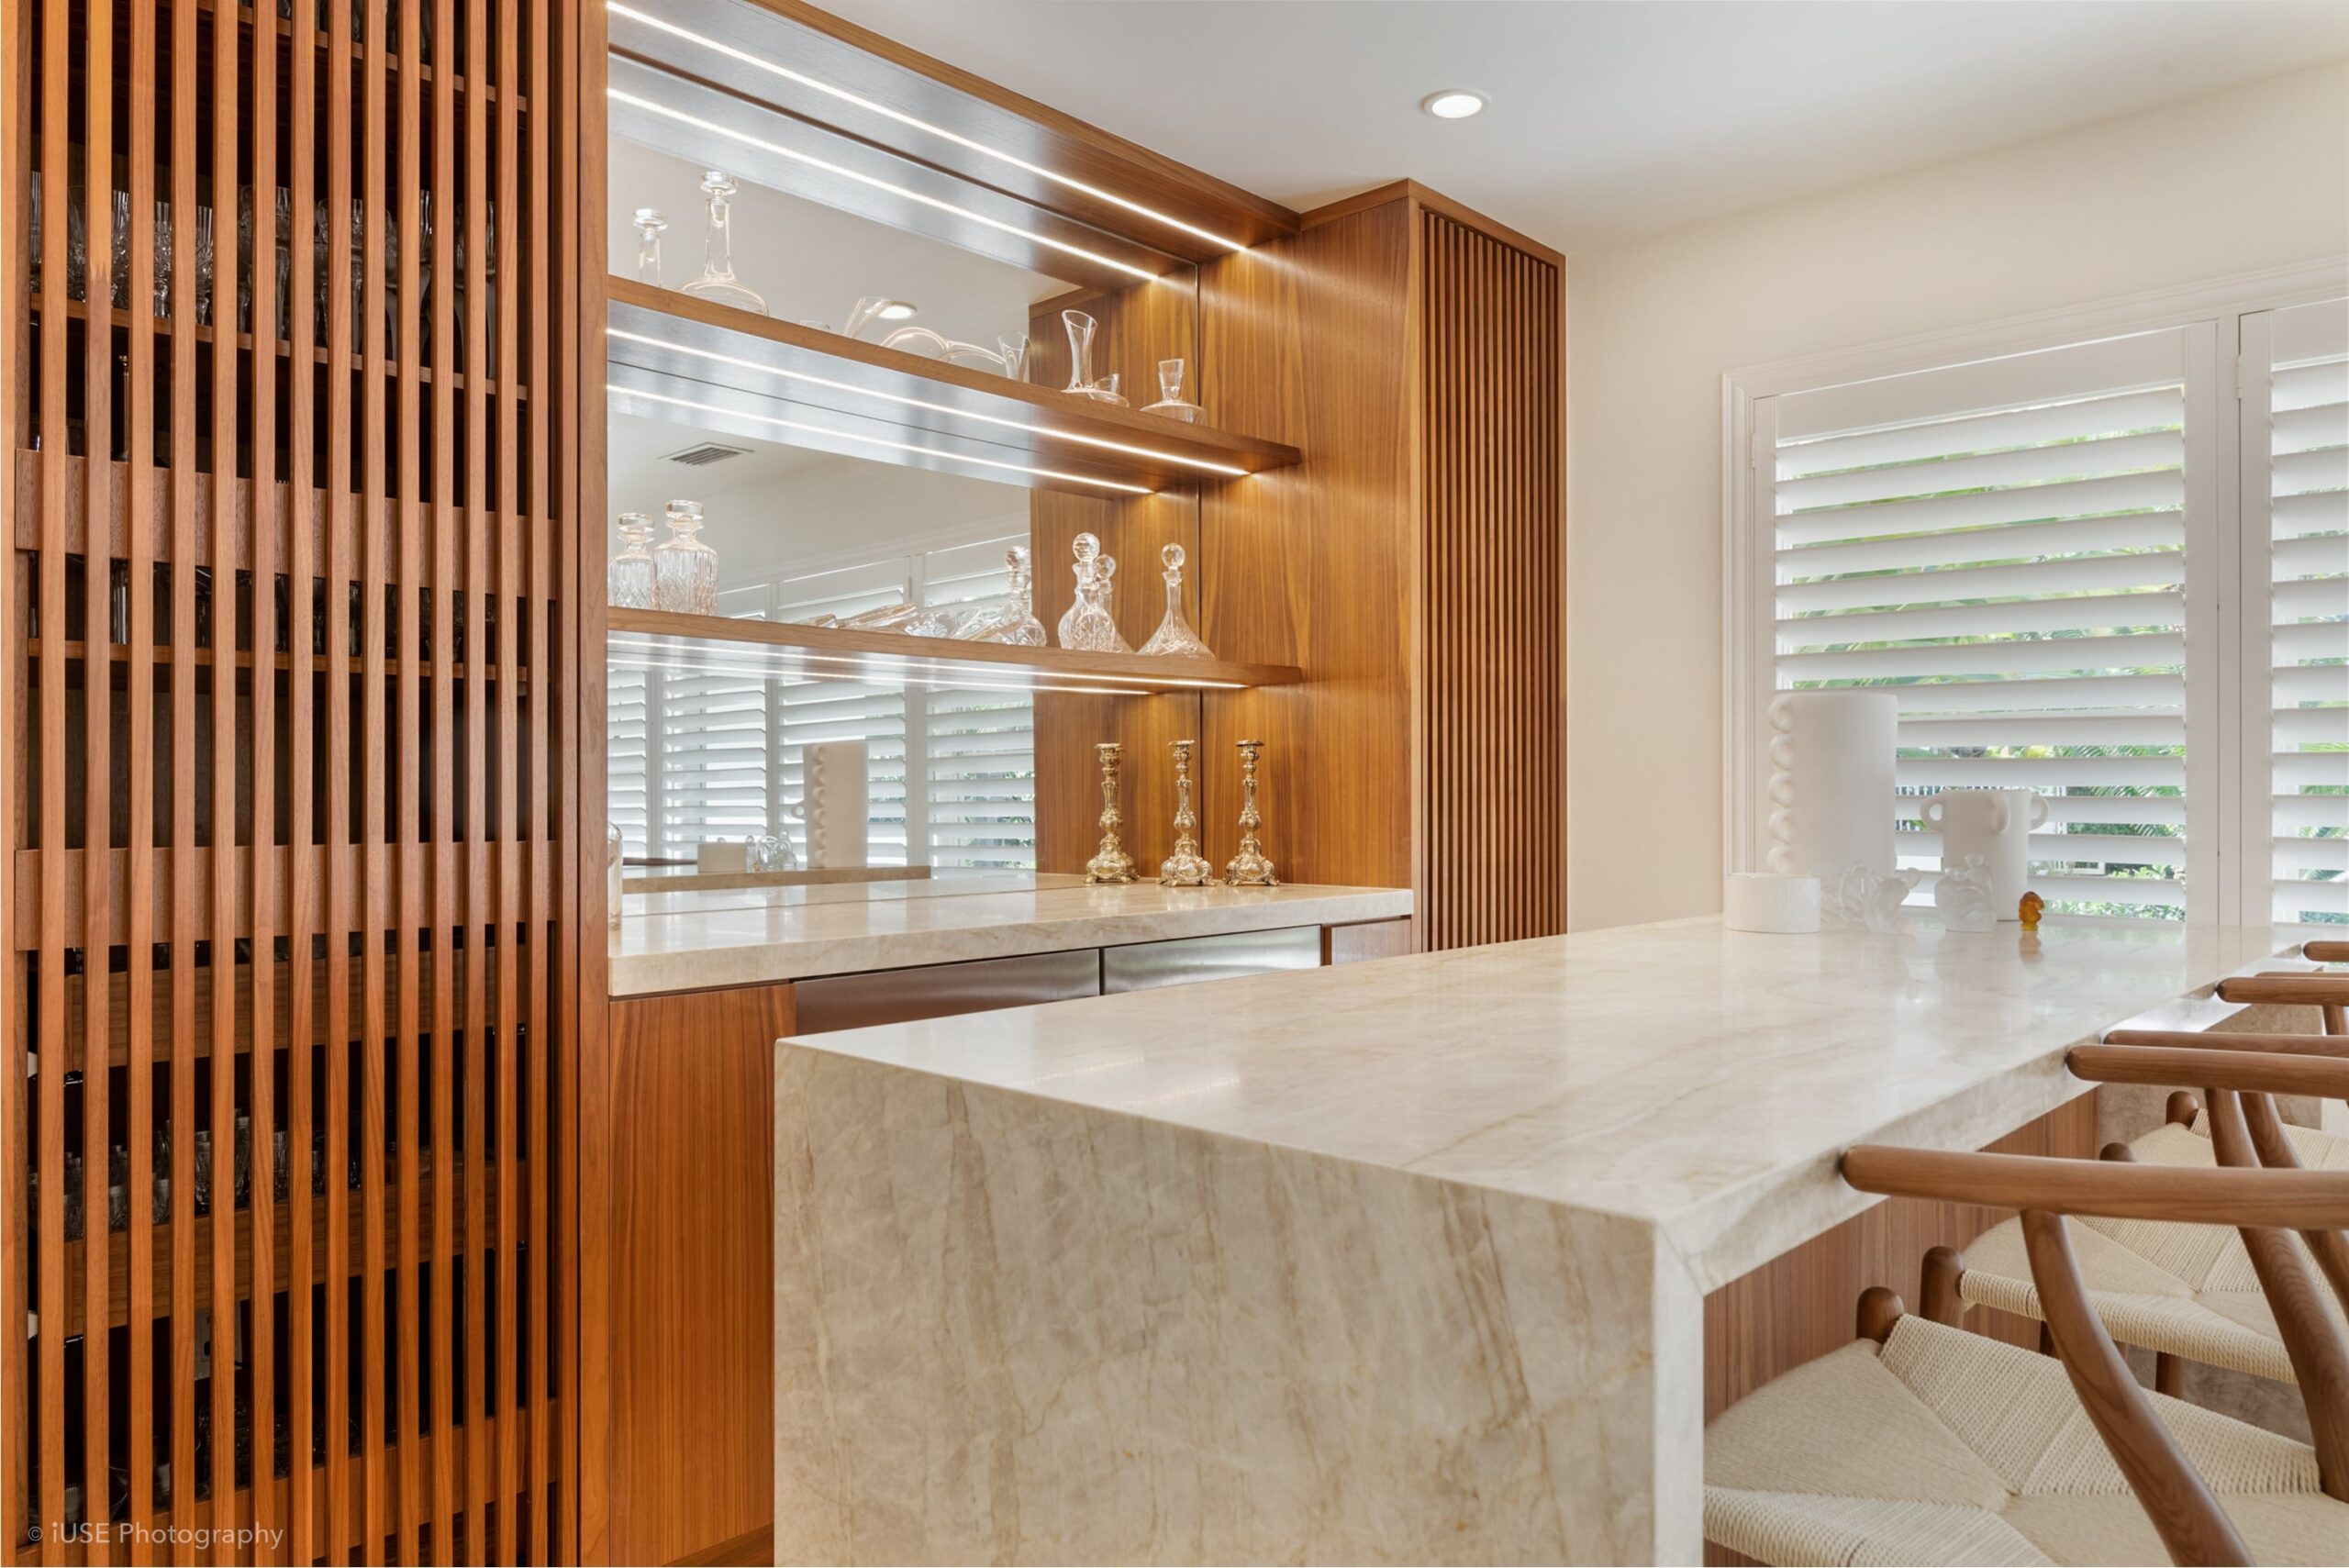
Once you’re finished with your renovation, it’s time for the final photoshoot. Why? Well, there can be a couple of reasons. For one, it’s nice to be able to show off all the work that you’ve done, whether it be in a single room or your entire home. Being able to see that before-and-after can really sell how far you’ve come along in the process. As a homeowner, you can flex your new designs for all your family and friends.
There are other reasons, besides the requisite vanity. For example, having photos of the finished project can give you visual proof of the work that was done and whether or not there are any discrepancies between what was built and the original designs. In addition, crews may work harder and more diligently if they know their final work is going to be photographed.
Whatever the reason, here’s how you can prep for photography once the renovation is finished.
How to prep for photography after your renovation finishes
There are a couple of things you can do to prep your room or home for the big photoshoot. For example:
Make a list of the photos you want
If you’re working with a photographer you should have a list of photos you want taken. Having your expectations set can make the entire process go smoother than figuring out things on the day. Even if you’re taking the photos yourself, knowing the best camera placement beforehand can save you a lot of time and energy.
Clean the area/property
When taking those final project photos, clear away any clutter or work tools that may distract from the impressive work. This can include trash, tools, people, signs, and, if you’re outdoors, vehicles. Basically anything that’s not going to be shown off. Let the renovation speak for itself and get the clutter out of the way.
Make use of the sun
Photos are often about lighting. Try to take pictures when the light hits the room the best. Cloudy afternoons can cut down on harsh shadows as well. Some examples of placement and time:
- East-facing properties – morning is the best time
- West-facing properties – afternoon is the best
- North-facing properties – 11:00am – 3:00pm is the best time
- South-facing properties – first thing in the morning or last thing in the day
Use a tripod
Tripods keep your photos looking straight and level. That way you don’t have to worry about blurry photos from unsteady hands.
Show off the whole room
Position your shot to showcase all or most of the renovated room. Doing this allows the viewer to get a full sense of how the room is arranged. To achieve this you can take your photos landscape-wise or use a wide-angle camera lens..
Don’t use flash on glass
Don’t photograph windows or glass fixtures with your camera’s flash as it could cause a nasty glare in the photos.
Hydrate your greenery
Water any yard space or gardens that are included in your renovation space. Doing so will make the area feel more alive and inviting.
Debowsky Design Group—fall in love with your home
Are you looking to start your next renovation project? At Debowsky Design Group, we’re committed to design excellence that looks fantastic on camera and even better in person. If you’re looking to kickstart your next home renovation project or if you’re still just thinking about it, give us a call. Our team of dedicated experts are ready to help you design the perfect living space. It’s not quite a home until you fall in love with it.